Over the holidays, my husband and I had some extra down time together. As a couple, we share a passion for cooking, so we spent almost all of our time in the kitchen. Spending quality time together picking out recipes and cooking is almost as enjoyable as a long beach vacation. Just like any vacation, it is always great to explore and try new things, so our adventures in the kitchen are no different. For this exotic culinary adventure, we decided to tackle a protein that we love to order in restaurants, but have never had the courage (or time) to try at home. Pork belly.
It was difficult for me to find recipes that were easy, and didn’t require fancy equipment I didn’t own. Luckily, this holiday season we became the proud new owners of an [amazon_textlink asin=’B00UKPBXM4′ text=’Anova Precision Cooker.’ template=’ProductLink’ store=’urbancavew-20′ marketplace=’US’ link_id=’10a4094c-ca41-11e7-aa37-2785a702ebce’] The Anova is an easy, at home souse-vide machine, that uses a water bath to perfectly cook your food. It is idiot proof. You can use the Anova for any type of food, but I mostly use it for proteins. I love that this truly is a “set and forget” tool, and the results are always succulent and flavorful. We couldn’t think of a more perfect way to try and cook this pork belly.
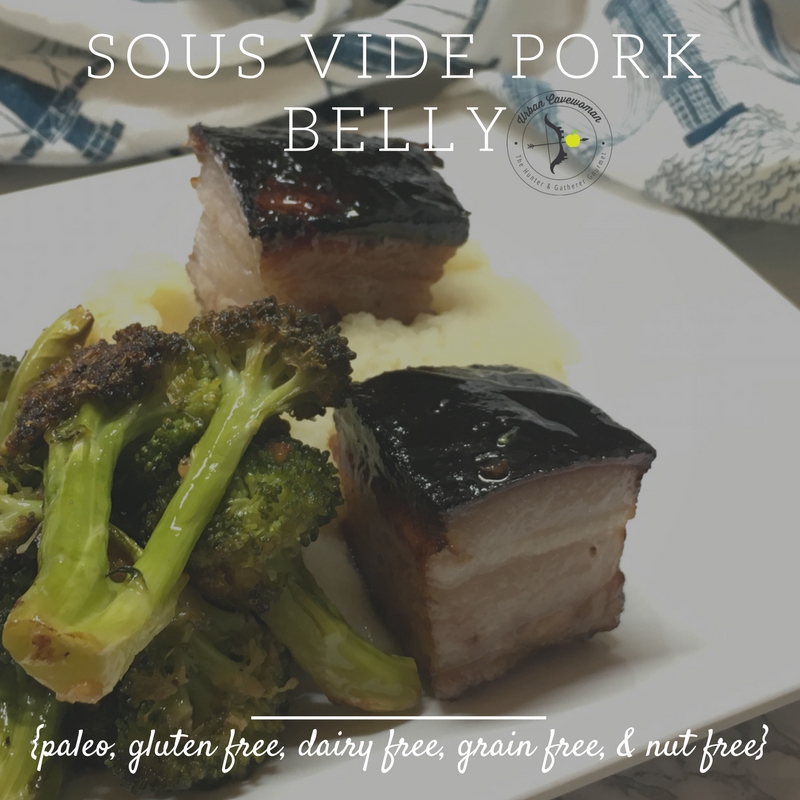
The result was a perfectly tender and succulent dish, absolutely exploding with flavor.
Choosing your pork belly
While pork belly has become very popular in many hipster gastro-pubs lately, it isn’t a common cut of meat you find in most grocery stores. Pork belly is the same cut of meat that bacon comes from, so if your local butcher or meat counter provides thick cut bacon, they will probably have pork belly. It is a very fatty cut of meat, but this is what makes it so tender and flavorful. You will want to ask your butcher for skin on, center cut pork belly.
Our butcher only had the pork belly in one-inch thick strips, but since we were cooking this in the sous-vide, that was fine. Getting this in thick strips, or a solid cut won’t make a difference to the cooking method. However, I would warn against going any thinner than the one-inch thickness.
Choosing your flavoring
Pork belly is a very rich meat, so we wanted ensure the marinade we used had something tangy to cut the richness. I was feeling a bit adventurous, and wanted to try something with an Asian flavoring. I also knew I needed some citrus and some heat to cut through the richness. My favorite Sweet and Tangy marinade would be perfect! This marinade does use maple syrup, so if you are doing a Whole 30, you may want to choose something else. However, for our purposes, it was exactly what we were looking for.
Cooking your pork belly
Low and slow is the best advice for cooking pork belly. Roasting and braising will work, and I’ve seen some recipes call for pressure cookers. While pork belly can add amazing flavor to stews, I personally don’t like how much fat it adds. You can obviously strain this off, but that is a lot of work. I prefer the easiest method possible, so sous-vide is right up my alley.
The first thing I did was set up the Anova at 158 degress. Next, I mixed up the marinade. Unfortunately, I had recently done a full pantry clean-out of any herb or spice beyond its expiration date. This meant I was completely without red pepper flakes. My brilliant husband proposed using paprika (which we have 3 bottles of), and it worked like a charm. Once the marinade is done, I placed the pork belly in to a plastic bag, and poured the marinade over it. Make sure the marinade covers all surfaces of the pork, so really mix it around in the bag. We don’t have a vacuum sealer, so we use the water immersion technique to seal our bags. Once the water reached the required temperature, we placed the bag of pork belly in the water and let it cook for 8 hours.
Finishing the pork belly
While the sous-vide is great at cooking and sealing in flavor, most food needs to be “finished” afterwards. We wanted a really crispy caramelized finish on the pork belly to balance how creamy the fatty layers were. Since achieving this texture does require additional cooking, we needed to let the meat cool down before searing it. Remember, the sous-vide already cooked this meat to perfection, so if we put it directly into a hot pan, it could dry out and over cook. We let it cool in the fridge for about 20 minutes, and used that time to prep our veggies and sides.
 Once the meat was cooled, we got a cast iron skillet very hot, and placed the pork belly in the hot pan, skin side down. The bag will still have a lot of great marinade and juices in there – save this! When the pork belly is in the pan, you need to apply a fair amount of weight to it to get that really great crispy outer layer. A bacon press could work, but we don’t have one. My husband McGuyvered a makeshift bacon press by covering the bottom of one of our cast iron pots in tinfoil. It worked like a charm! We let the pork sear on the skin side like this for about 5 minutes, then flipped it and repeated. For the sides of the meat, we didn’t use our make shift press, but just lightly seared those for about 2 minutes each side.
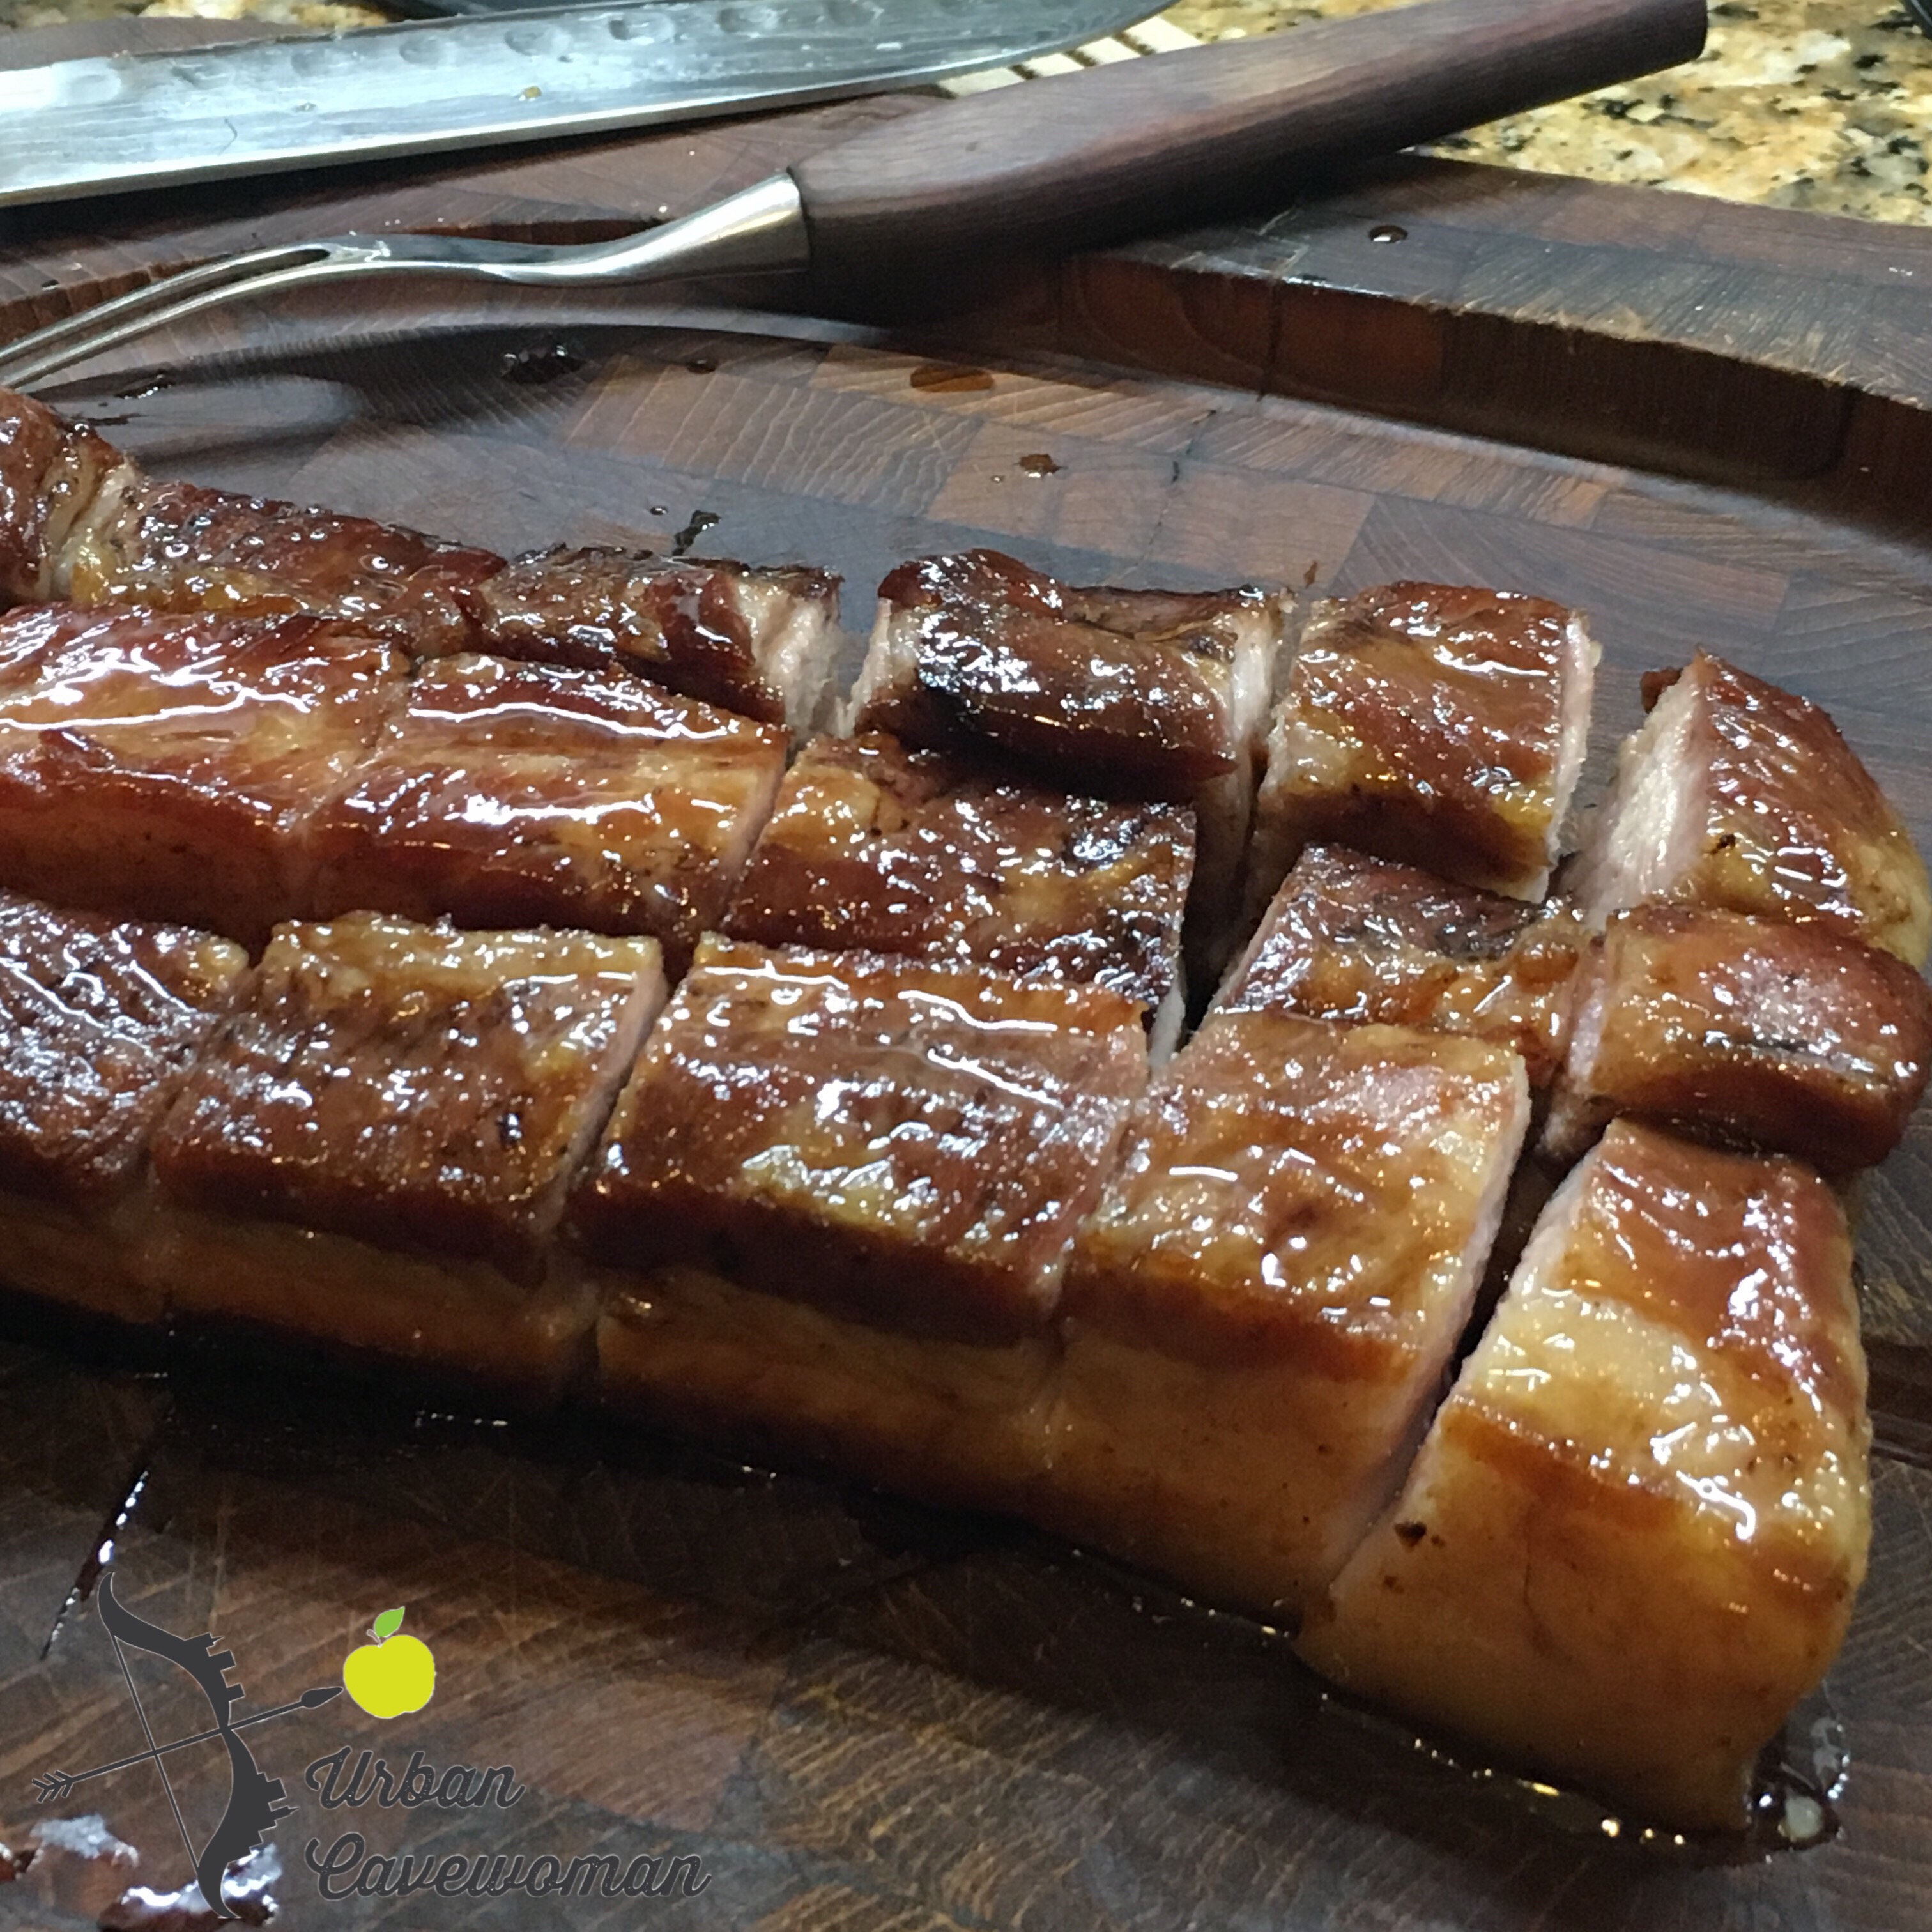
Remove from heat and set on a cutting board when the belly is nicely caramelized on top and bottom, with nice cook on the sides. At this point, deglaze your pan with the remaining juices from the bag. Let the liquid simmer over medium, and use a wooden spoon to scrape up all the flavorful bits. You can add additional broth if you need to. Remove the pan from heat, and strain the liquid into a gravy boat or bowl.
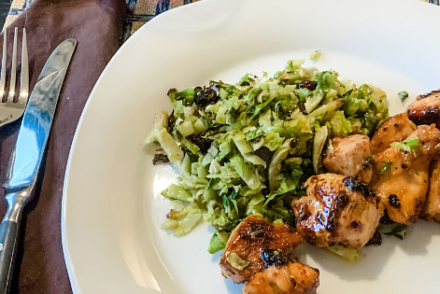
Serving suggestions and finished product
The beauty of a well cooked pork belly are the layers of meat, fat, and skin. We wanted our meal to not only taste delicious, but to be visually appealing, so we decided to slice our pork belly into 1 inch x in inch pieces. Pork belly is pretty heavy, given how fatty and rich it is. As a result, we didn’t really want to pair it with anything else that was heavy. Instead of baking our standard sweet potato, we opted for a light and fluffy cauliflower and parsnip puree. This had the added benefit of visually being very appealing next to the pork belly. For added color and nutrients, we roasted up some broccoli with olive oil a garlic. We served it with the glaze from the pan drizzled on top, and thought we had died and gone to heaven.
[amd-yrecipe-recipe:11]